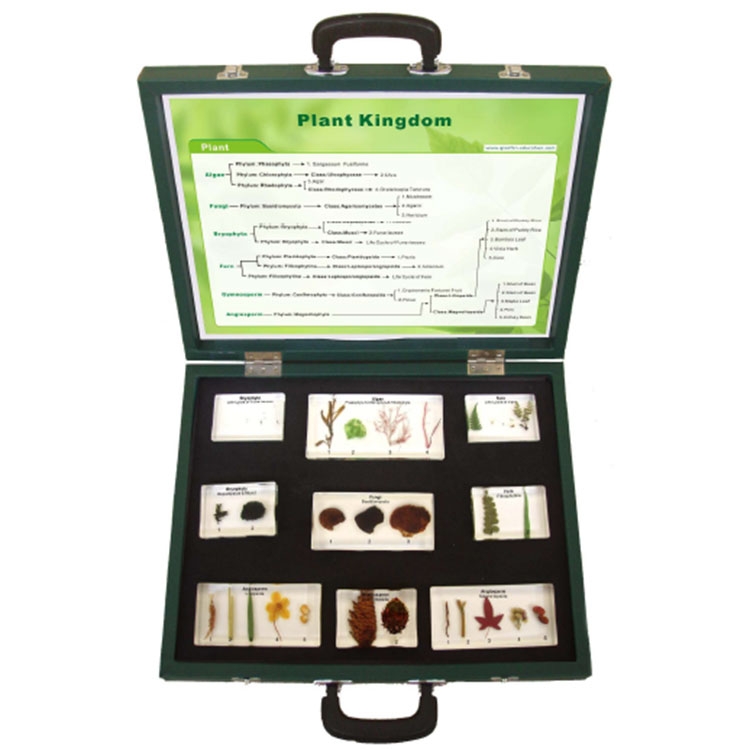

How to create an embedded specimen
2023-12-01
Creating an embedded specimen involves preserving an object or organism within a clear material, usually resin, to create a visually appealing and educational display. Here's a guide on how to create an embedded specimen:
Materials:
1. Specimen: This could be an insect, flower, seashell, small toy, or any object you want to embed.
2. Clear Casting Resin: Available at craft stores, this will serve as the embedding material.
3. Resin Catalyst or Hardener: Follow the instructions on your specific resin for mixing ratios.
4. Resin Mold: Choose a mold that suits the size and shape of your specimen.
5. Release Agent (optional): To help release the specimen from the mold.
6. Mixing Cups and Stirring Sticks: Disposable cups and sticks for mixing resin.
7. Safety Gear: Gloves and safety glasses to protect your skin and eyes.
8. Labels or Markers: For labeling and dating your specimen.
Steps:
1. Select and Prepare the Specimen:
- Choose a specimen that fits the size of your mold.
- Clean and dry the specimen thoroughly. If it's organic, consider drying it completely.
2. Prepare the Mold:
- Ensure the mold is clean and dry.
- Apply a release agent if recommended for your specific resin and mold.
3. Mix the Resin:
- Follow the instructions on your resin kit for mixing ratios.
- Wear safety gear while handling resin.
- Use disposable cups and stirring sticks for mixing.
4. Pour a Thin Layer:
- Pour a thin layer of resin into the mold, enough to cover the bottom.
- Allow it to partially cure. This helps prevent the specimen from floating to the surface.
5. Place the Specimen:
- Gently place the specimen onto the partially cured resin layer.
- Adjust the position as needed.
6. Pour the Remaining Resin:
- Pour the remaining resin into the mold, covering the specimen completely.
- Make sure the specimen is centered and submerged.
7. Remove Air Bubbles:
- Use a heat gun or a torch to carefully remove any air bubbles that may have formed in the resin.
8. Allow Curing:
- Allow the resin to cure according to the manufacturer's instructions. This typically takes several hours to a day.
9. Demold the Specimen:
- Once fully cured, carefully demold your embedded specimen. Follow the instructions for releasing the specimen from the mold.
10. Label and Display:
- Label your embedded specimen with relevant information such as the specimen type and date.
- Display your embedded specimen in a location where it can be observed and appreciated.
Tips:
- Work in a well-ventilated area when dealing with resin.
- Follow all safety guidelines provided by the resin manufacturer.
- Experiment with different types of molds and arrangements to create unique displays.
Creating embedded specimens can be a fascinating way to preserve and showcase objects or organisms, making them ideal for educational purposes, art projects, or personal collections.